Opening the Secret to Setting Up Shutter Blinds: A Step-by-Step DIY Tutorial
Understanding the art of mounting shutter blinds can be a transformative experience for any kind of home owner aiming to boost both the visual appeals and functionality of their home. The process may seem difficult originally, but with the right devices, exact dimensions, and systematic technique, it can come to be a simple do it yourself project. As we untangle the actions associated with this tutorial, you will reveal useful insights that can encourage you to raise the ambiance of your home effortlessly.
Devices You'll Need

The determining tape is important for accurately measuring the measurements of your windows to ensure the blinds fit properly. The pencil will certainly be utilized for marking where to position the braces. A level is essential to make certain that the blinds are mounted directly. The screwdriver will be made use of to protect the brackets and any screws needed. A drill with appropriate drill bits will certainly assist in developing holes for the screws and wall surface supports. Wall supports are vital for providing extra assistance for the screws, particularly if you are placing the blinds onto drywall. A step ladder will certainly aid in reaching higher home windows for installment (shutter blinds). By having these tools prepared, you can wage self-confidence in mounting your shutter blinds efficiently and successfully.
Gauging Your Windows
Utilizing a gauging tape, precisely measure the measurements of your windows to guarantee a proper fit for the shutter blinds. Take note of the tiniest measurement to ensure the blinds will certainly fit without any concerns. Precise dimensions are important for a successful installment, so double-check all dimensions prior to purchasing or reducing the shutter blinds.
Preparing the Shutter Blinds
After properly measuring the measurements of your home windows as laid out in the previous subtopic, the following step in the setup process is preparing the shutter blinds. Before starting, guarantee you have all the essential tools available, including a drill, screws, a screwdriver, and a level. Unbox the shutter blinds meticulously to avoid damage. Lay out all the official website components and verify that whatever needed for installment is present.
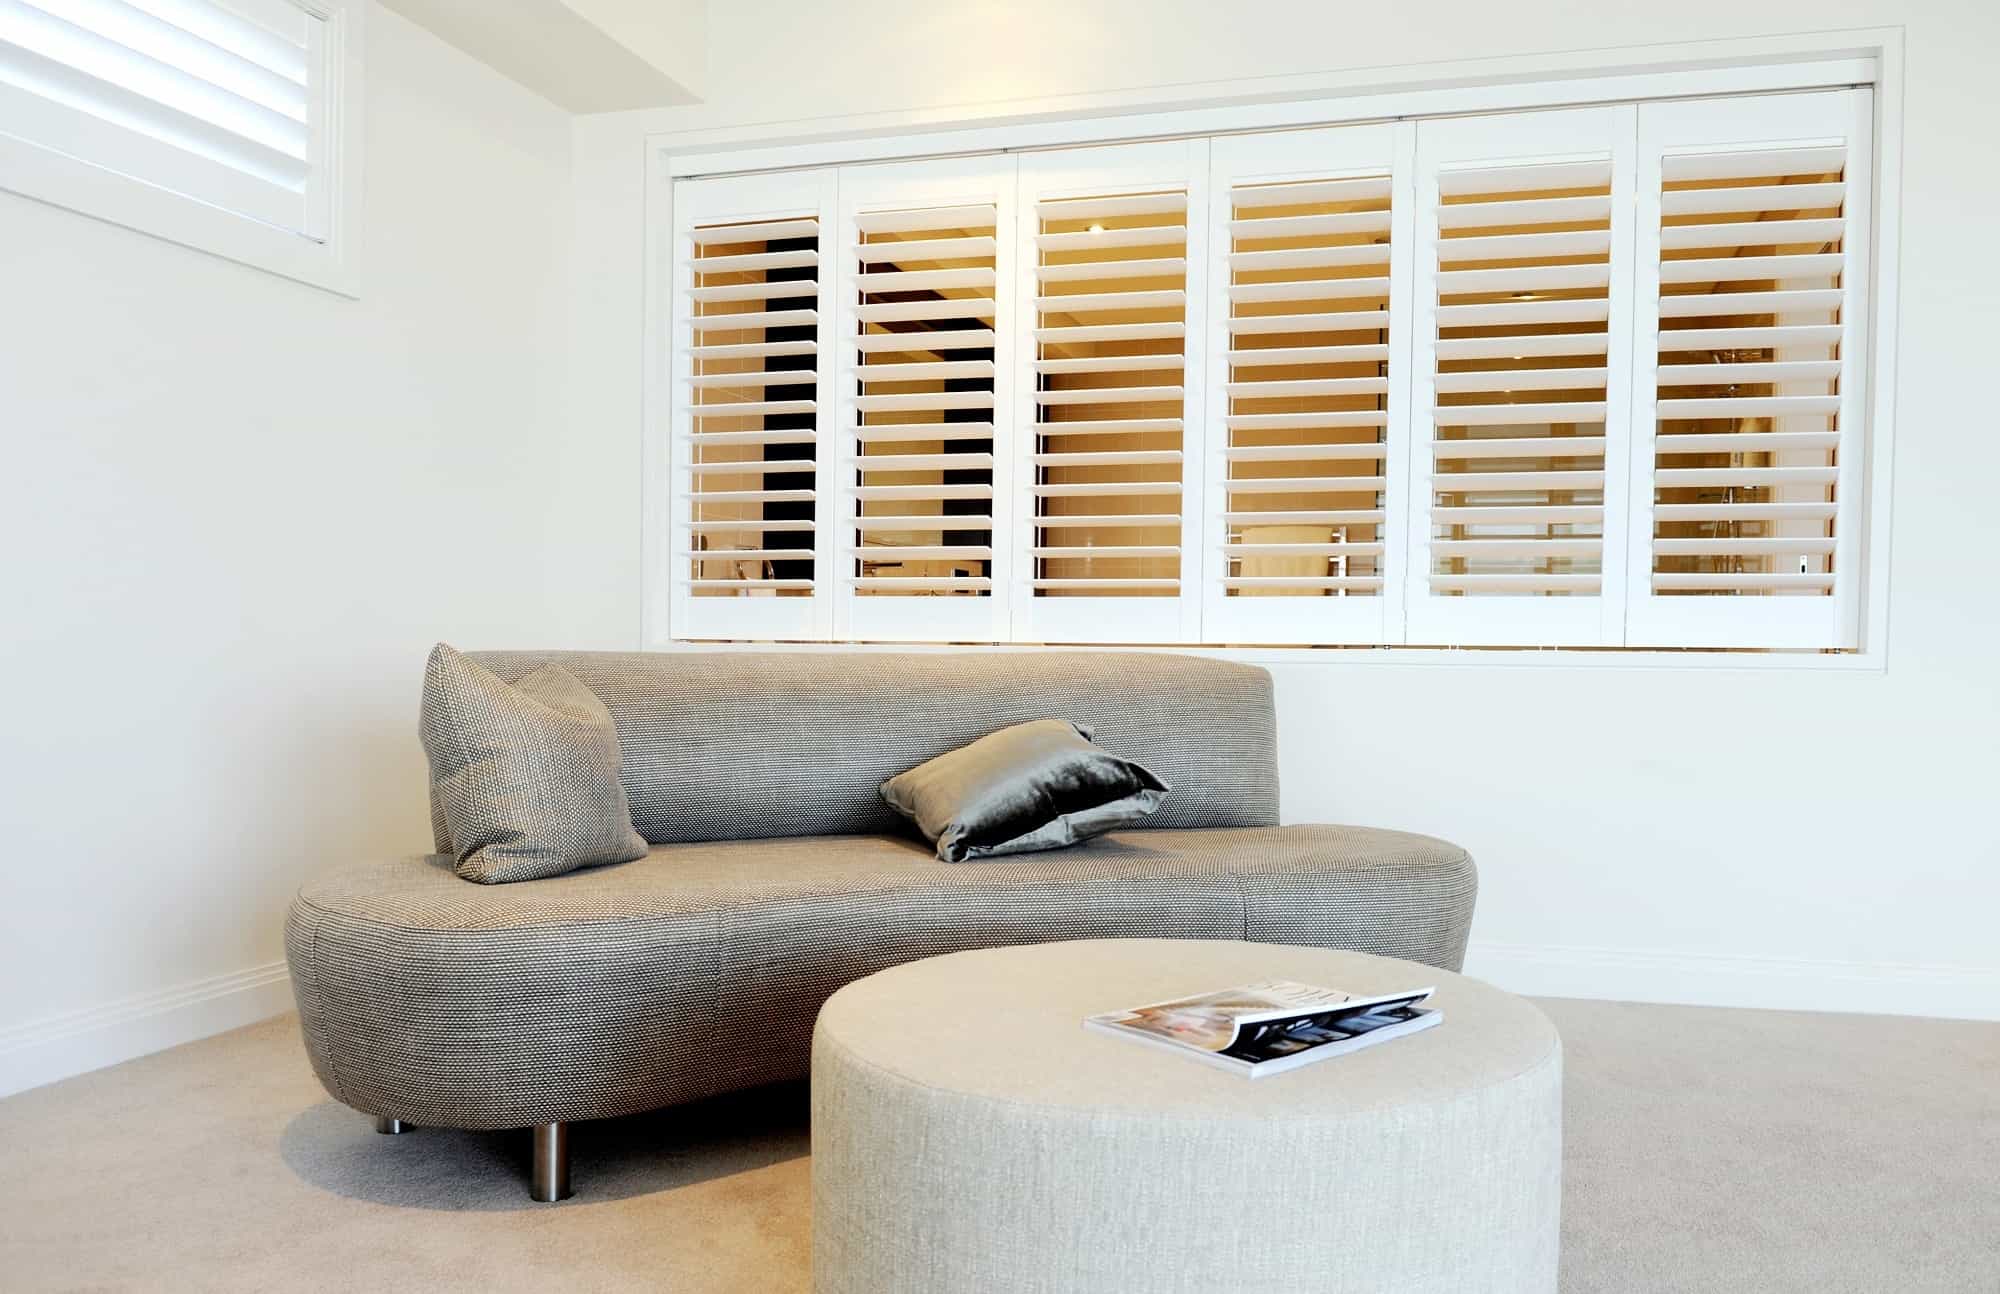
Following, familiarize yourself with the parts of the shutter blinds. Recognize the leading and lower rails, the louvers, and the tilt click for more info rod. Make sure that the louvers are shut prior to installment to protect against any kind of disturbance throughout the procedure.
It is essential to read the supplier's instructions offered with the shutter blinds. Each set may have specific needs or one-of-a-kind functions that you need to be aware of prior to proceeding with the installation. Adhering to the maker's guidelines will certainly make sure a smooth and successful installment process.
Mounting the Shutter Blinds
Final Touches and Tips
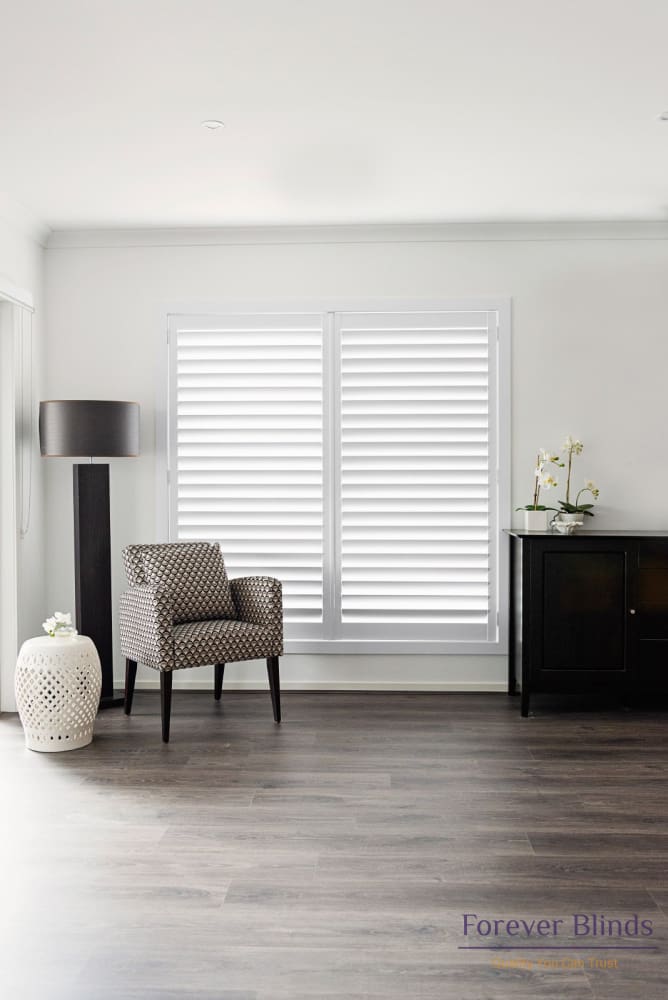
To make sure a refined surface to your shutter blinds setup, think about carrying out these final touches and important suggestions. Take a moment to step back and inspect the total look of your recently installed shutter blinds. Ensure that they are degree and straightened properly to ensure a professional appearance. my site Make use of a spirit degree to confirm the alignment and make any essential changes.
Following, add any kind of completing accessories that featured your shutter blinds set, such as valances or attractive pulls, to improve the aesthetic allure of your window therapy. These small information can make a considerable distinction in the general appearance of your blinds.
Furthermore, tidy any spots or marks on the shutter blinds using a light detergent or specialized cleaner. plantation shutters. This last touch will make sure that your blinds look beautiful and properly maintained

Verdict
In conclusion, setting up shutter blinds needs mindful dimension, preparation, and setup. With method and focus to information, you can easily unlock the trick to setting up shutter blinds on your very own.